I wanted to read a book version of “Twinkle Twinkle Little Star” for my Moon & Rockets baby storytime, but the ones I looked at weren’t quite what I wanted. Michael Hague has a gorgeous version, but the illustrations are too complex and the colors too muted for a large group, especially very young children, whose eyesight is still developing. Annie Kubler has a board book version, but the illustrations show her wonderful babies acting out the sign language for the song, which is cool, but the pictures don’t otherwise illustrate the words. Iza Trapini has a version, but it’s a mash up between “Twinkle” and “Star Light, Star Bright.” Again, not bad, but not just the words I was looking for.
So I decided to make my own! This is a long post that outlines how I made my big book. Because it is so long, I put my thoughts and tips into a separate post.
I was lucky and found some 18×24 black construction paper in the children’s library supplies at work. I cut it to 18×18, and those were my pages. For the text, I thought about using white crayon or a white paint pen, but in the end I decided to print out the letters and cut them out individually. I can tell you, the next big book I do will not take place in outer space, because this was definitely a time-consuming step.
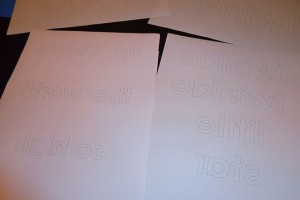
To make my letters, I opened a Word Art text box in Microsoft Word, chose Century Gothic in a large size, and chose Outline for the style. I changed the color from black to a lighter gray, then flipped the image horizontally so the letters would print out backwards. This let me cut them out without worrying about being too exact, because any gray outlines I didn’t cut away would be face-down in the book.
Click on the photo below to see it a little larger–you’ll be able to see what the letters looked like before I cut them out.
Once I cut them out, I could have used a glue stick to glue them down, but because I am a huge geek, I had a Xyron at home from my stay-at-home mom scrapbooking days. I used the adhesive cartridge, which is basically a huge sticker maker. You can send whatever you want through the machine and it puts a layer of adhesive on one side. This was very handy!
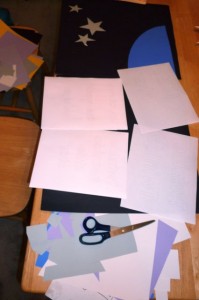
Here’s everything spread out on my kitchen table:
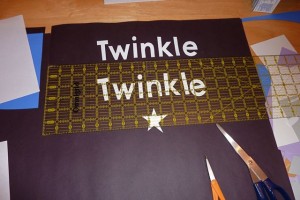
Here’s the title page coming together. Note the other geeky tool I had at home…a quilting ruler. I used it to help center and line up the letters. (I can’t remember the last time I used this ruler for a sewing project, but I use it all the time for other crafts!)
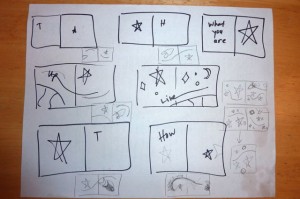
Before I started gluing anything else down, I sketched out a plan for each page. My 12-year-old daughter helped me with the layout! You can see a couple of versions on this sketch. The black Sharpie was my very first sketch, when I just wanted to get the basic idea in my head onto the paper. The pencil is what my daughter and I worked out once we had a chance to move some shapes around on the actual pages.
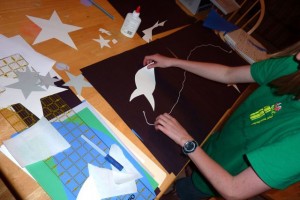
Here’s my daughter using some rough paper shapes and a piece of string to help us visualize where we wanted to put things on the page. The string represented the line of text. The fish shape was our rocket stand-in!
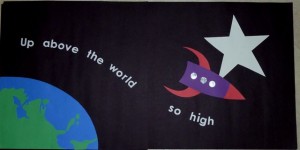
Then it was time to glue everything down. Here’s one of the final pages:


.jpg)

2 Responses to Making a Homemade Big Book